FAQ – Helicon Focus
array(10) {
  ["_edit_lock"]=>
  array(1) {
    [0]=>
    string(12) "1765883492:4"
  }
  ["_edit_last"]=>
  array(1) {
    [0]=>
    string(1) "4"
  }
  ["cptr_related"]=>
  array(1) {
    [0]=>
    string(6) "a:0:{}"
  }
  ["_yoast_wpseo_content_score"]=>
  array(1) {
    [0]=>
    string(2) "30"
  }
  ["_last_editor_used_jetpack"]=>
  array(1) {
    [0]=>
    string(12) "block-editor"
  }
  ["_yoast_wpseo_estimated-reading-time-minutes"]=>
  array(1) {
    [0]=>
    string(1) "7"
  }
  ["_yoast_wpseo_wordproof_timestamp"]=>
  array(1) {
    [0]=>
    string(0) ""
  }
  ["_g_feedback_shortcode_ba25b56ec82eba5774d0450deabd4e18e90f87a0"]=>
  array(1) {
    [0]=>
    string(232) "
				[contact-field label="Name" type="name"  required="true" /]
				[contact-field label="Email" type="email" required="true" /]
				[contact-field label="Website" type="url" /]
				[contact-field label="Message" type="textarea" /]"
  }
  ["_g_feedback_shortcode_atts_ba25b56ec82eba5774d0450deabd4e18e90f87a0"]=>
  array(1) {
    [0]=>
    string(552) "a:17:{s:2:"to";s:18:"tolokcat@gmail.com";s:7:"subject";s:34:"[Helicon Soft] FAQ - Helicon Focus";s:12:"show_subject";s:2:"no";s:6:"widget";i:0;s:14:"block_template";N;s:19:"block_template_part";N;s:2:"id";i:5897;s:18:"submit_button_text";s:6:"Submit";s:14:"customThankyou";s:0:"";s:21:"customThankyouHeading";s:26:"Your message has been sent";s:21:"customThankyouMessage";s:30:"Thank you for your submission!";s:22:"customThankyouRedirect";s:0:"";s:10:"jetpackCRM";b:1;s:9:"className";N;s:9:"postToUrl";N;s:14:"salesforceData";N;s:12:"hiddenFields";N;}"
  }
  ["dropdown_menu"]=>
  array(1) {
    [0]=>
    string(1) "5"
  }
}
Q:I'm getting a 'Load image error: failed to create dng file from raw using Adobe Converter'. How should I go about fixing this?
A: Please make sure to install the latest version of
Adobe DNG Converter. There's no need of running it or converting files prior to processing in Helicon Focus - just having it installed is sufficient. If the issue persists after the converter update, open the raw files to reproduce the failure and submit a
bug report.
click here to close
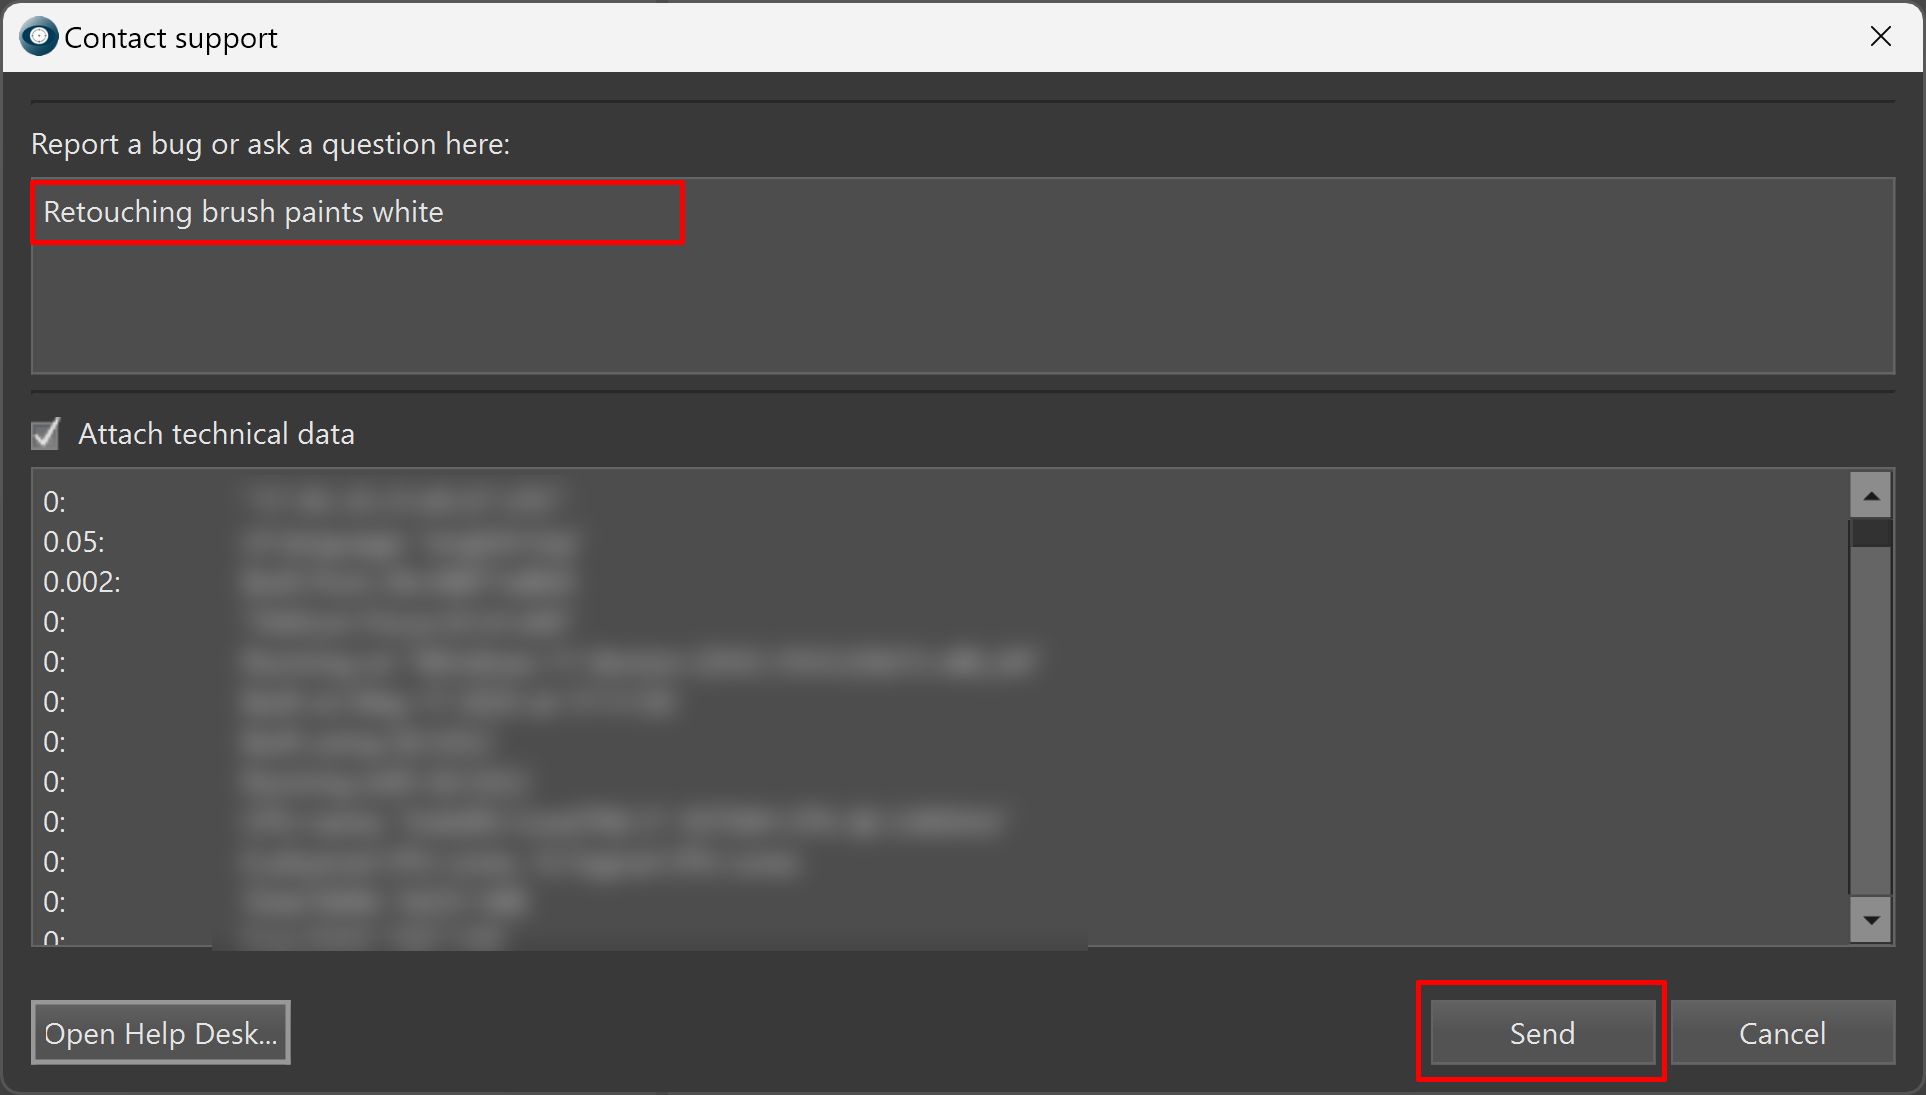
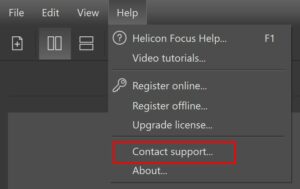
Q: How do I submit a bug report?
A: Go to menu Help->Contact support:
Right a brief description of the problem and click 'Send' button.
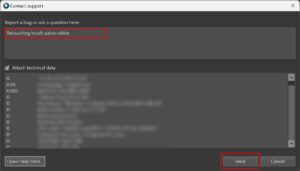
If the program crashes, please restart and submit a report immediately after restarting, prior to performing any operations.
click here to close
Q: Reporting a bug on Mac OS X in case of Helicon Focus crash
A:There should be a pop-up message stating that the program has closed unexpectedly.
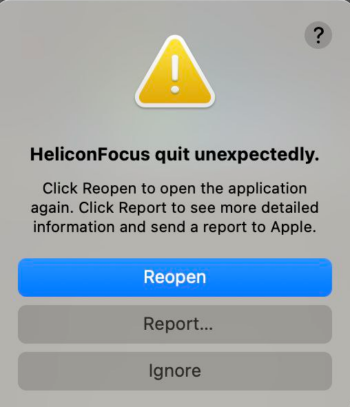
Click the "Report" button.
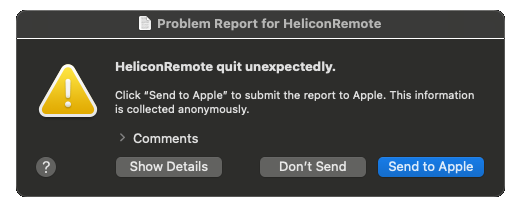
Press the "Show Details" button and it will open up long text that you should copy to clipboard and send us.
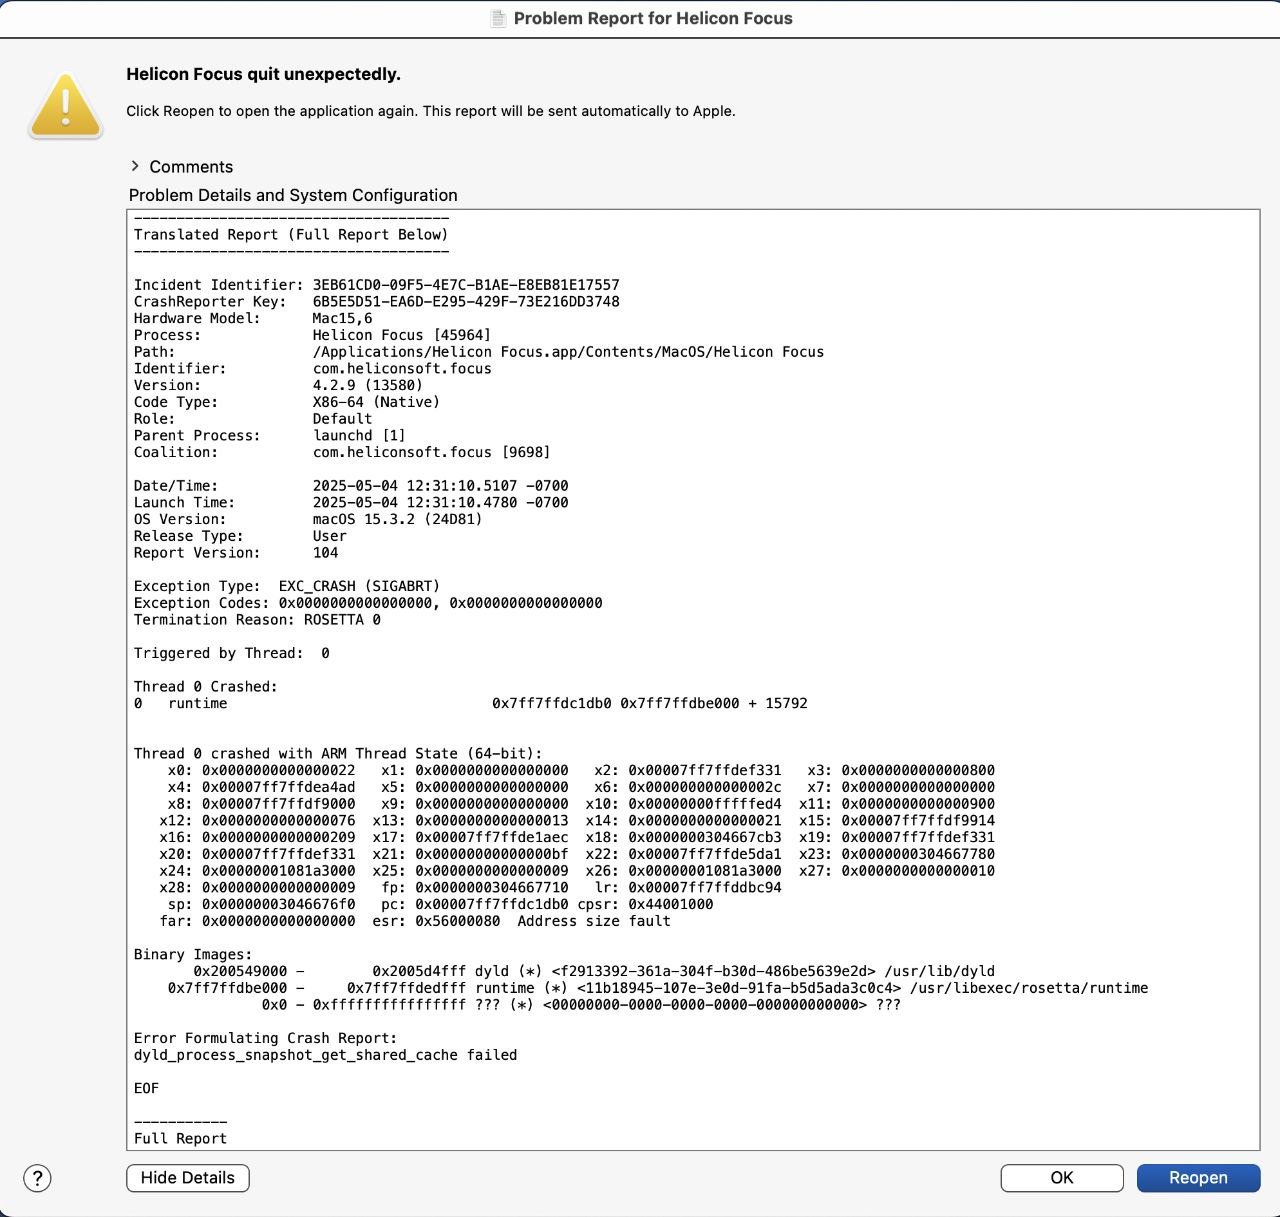
You can paste the text into the "Report a bug or ask a question" field of Helicon Focus bug report, or send it directly to support@heliconsoft.com.
click here to close
Q: I've got a new computer. How do I transfer my license?
Q: Retouching brush started painting white/black/not painting. How do I fix that?
A: Right-click on Brightness or Color tolerance sliders to reset the brush settings to default. If Brightness is set to high values, the brush will be painting white, if set to low ones the brush will be painting black. With Color tolerance set to low values the brush will not be painting (the default value is 100%).
click here to close
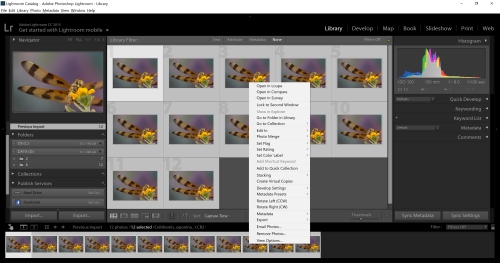
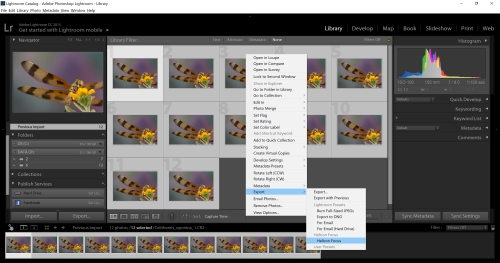
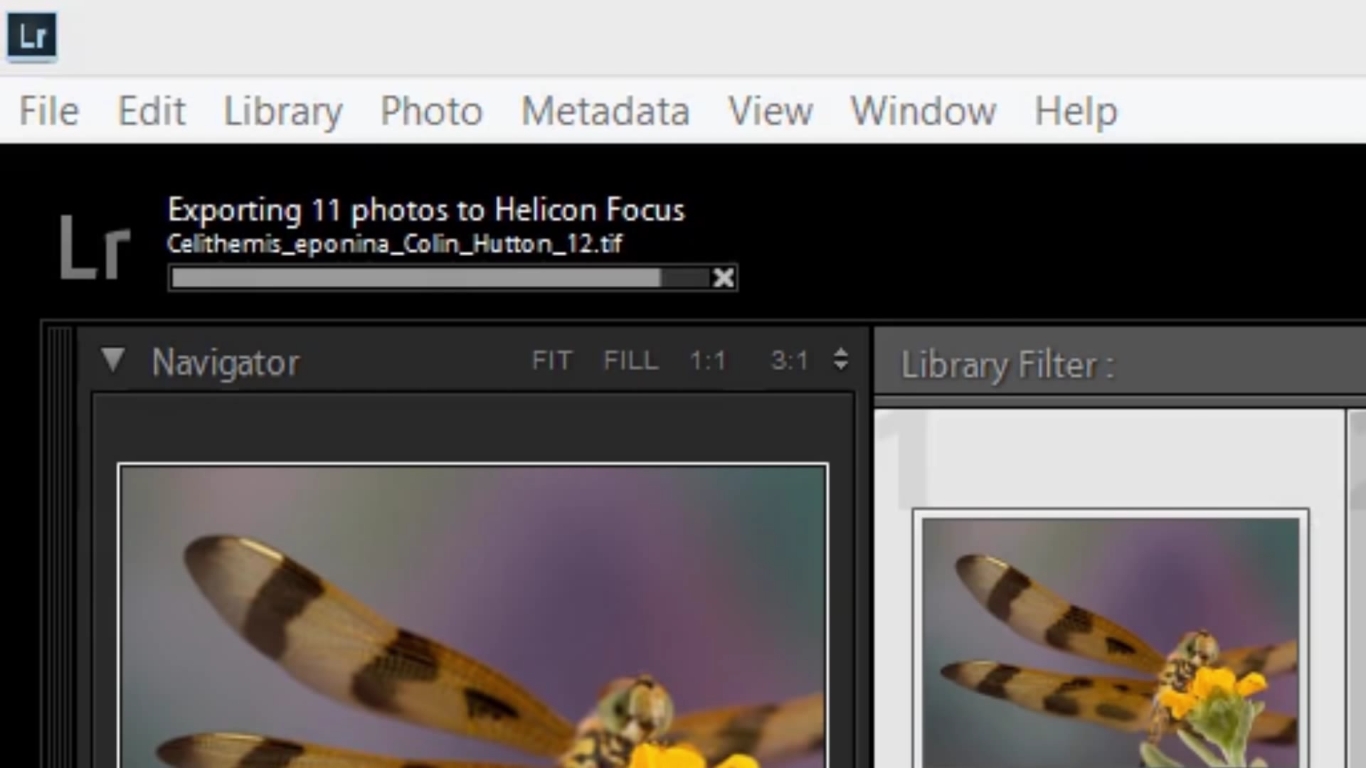
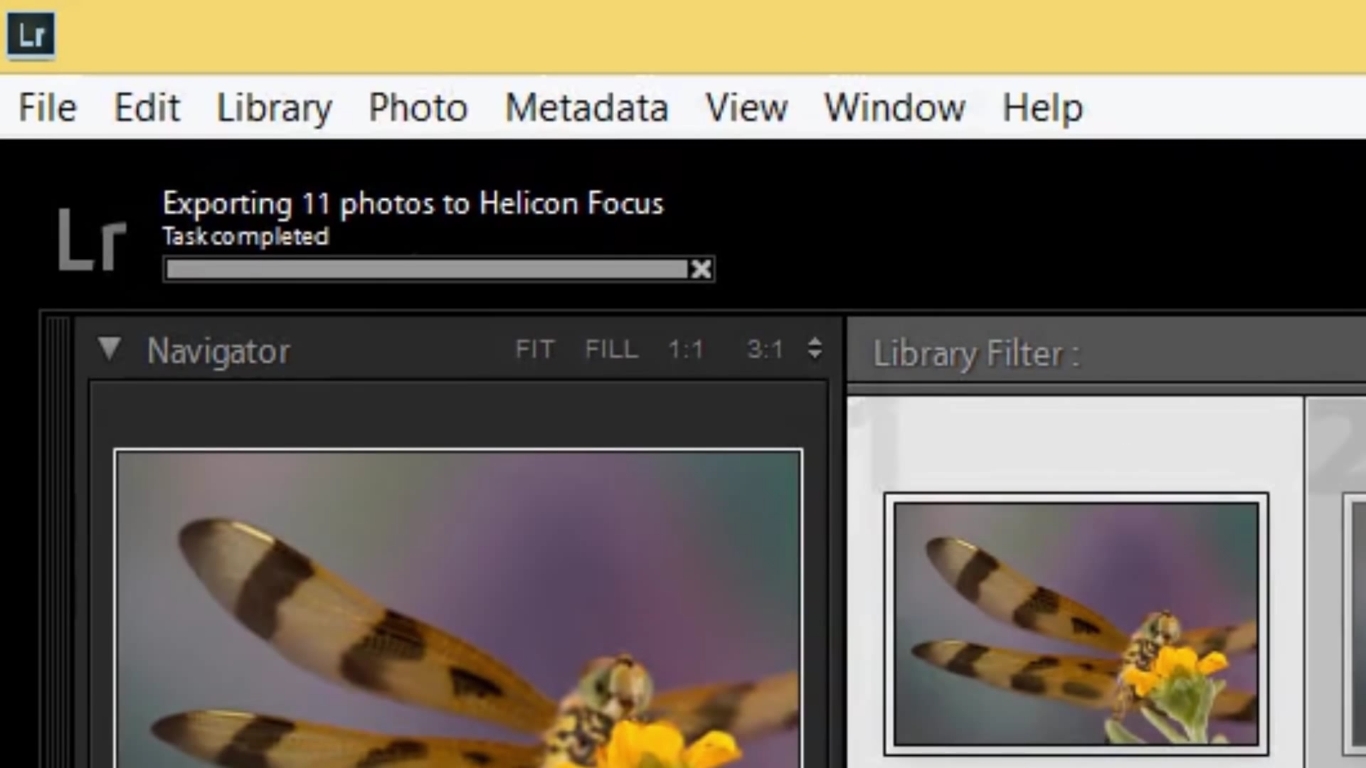
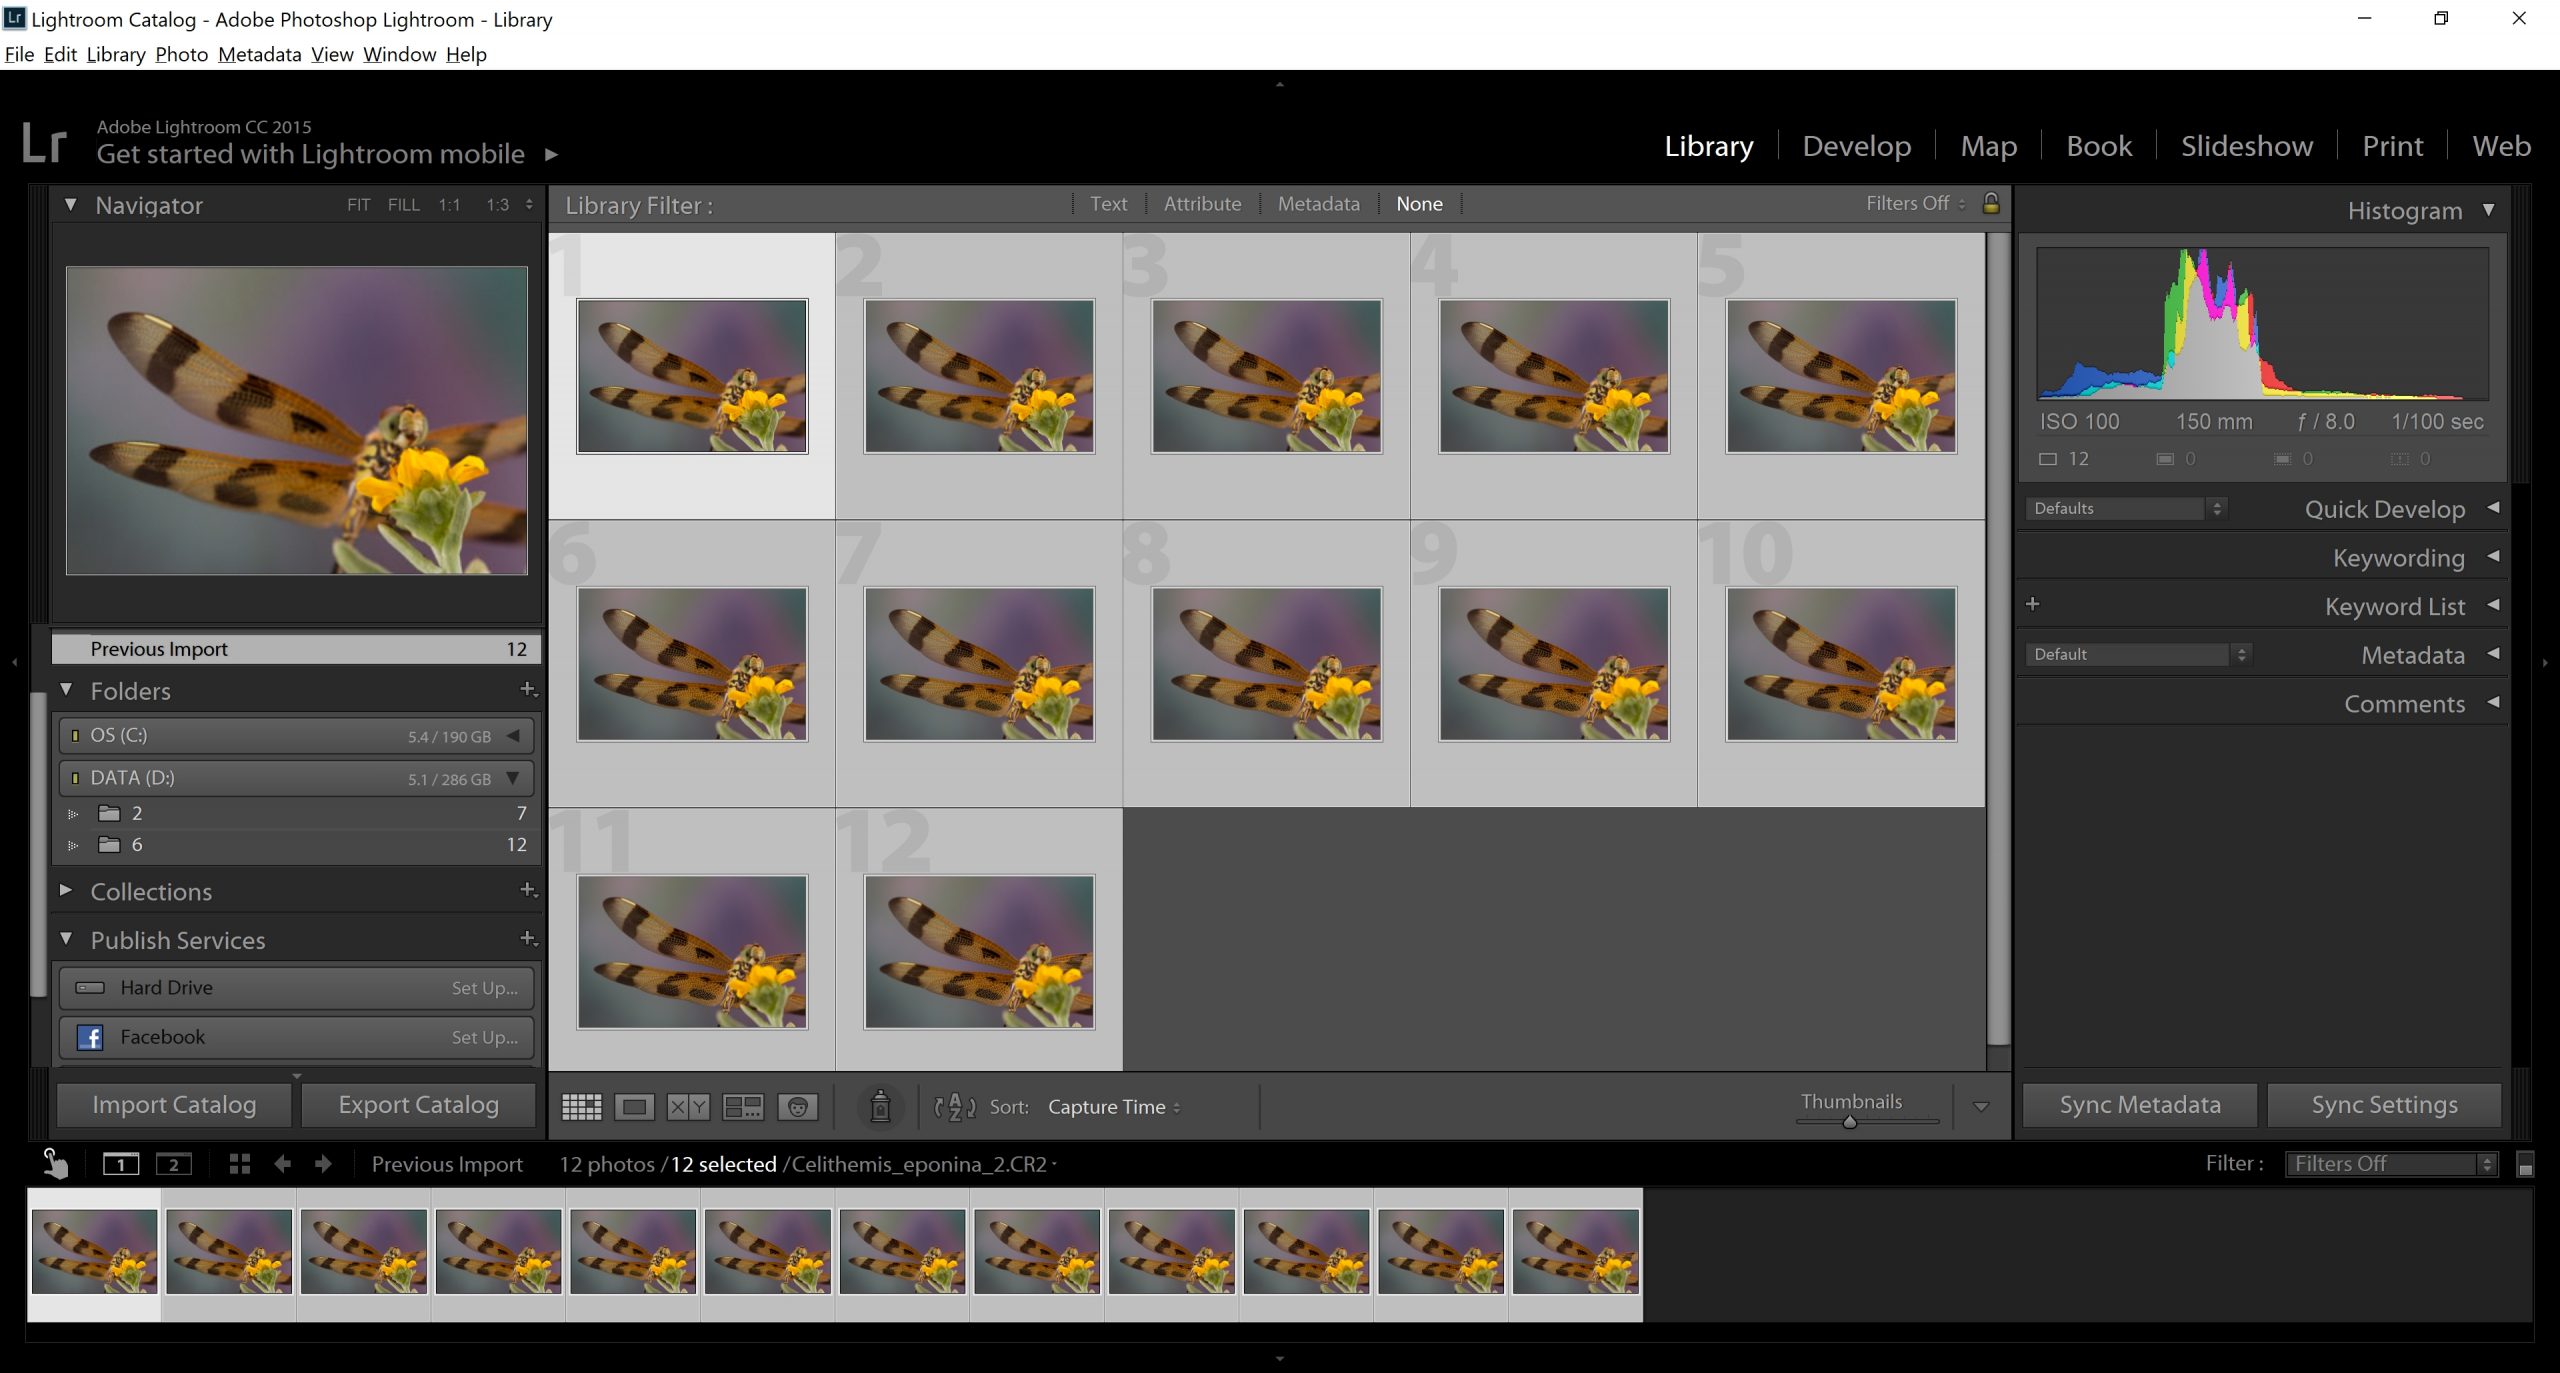
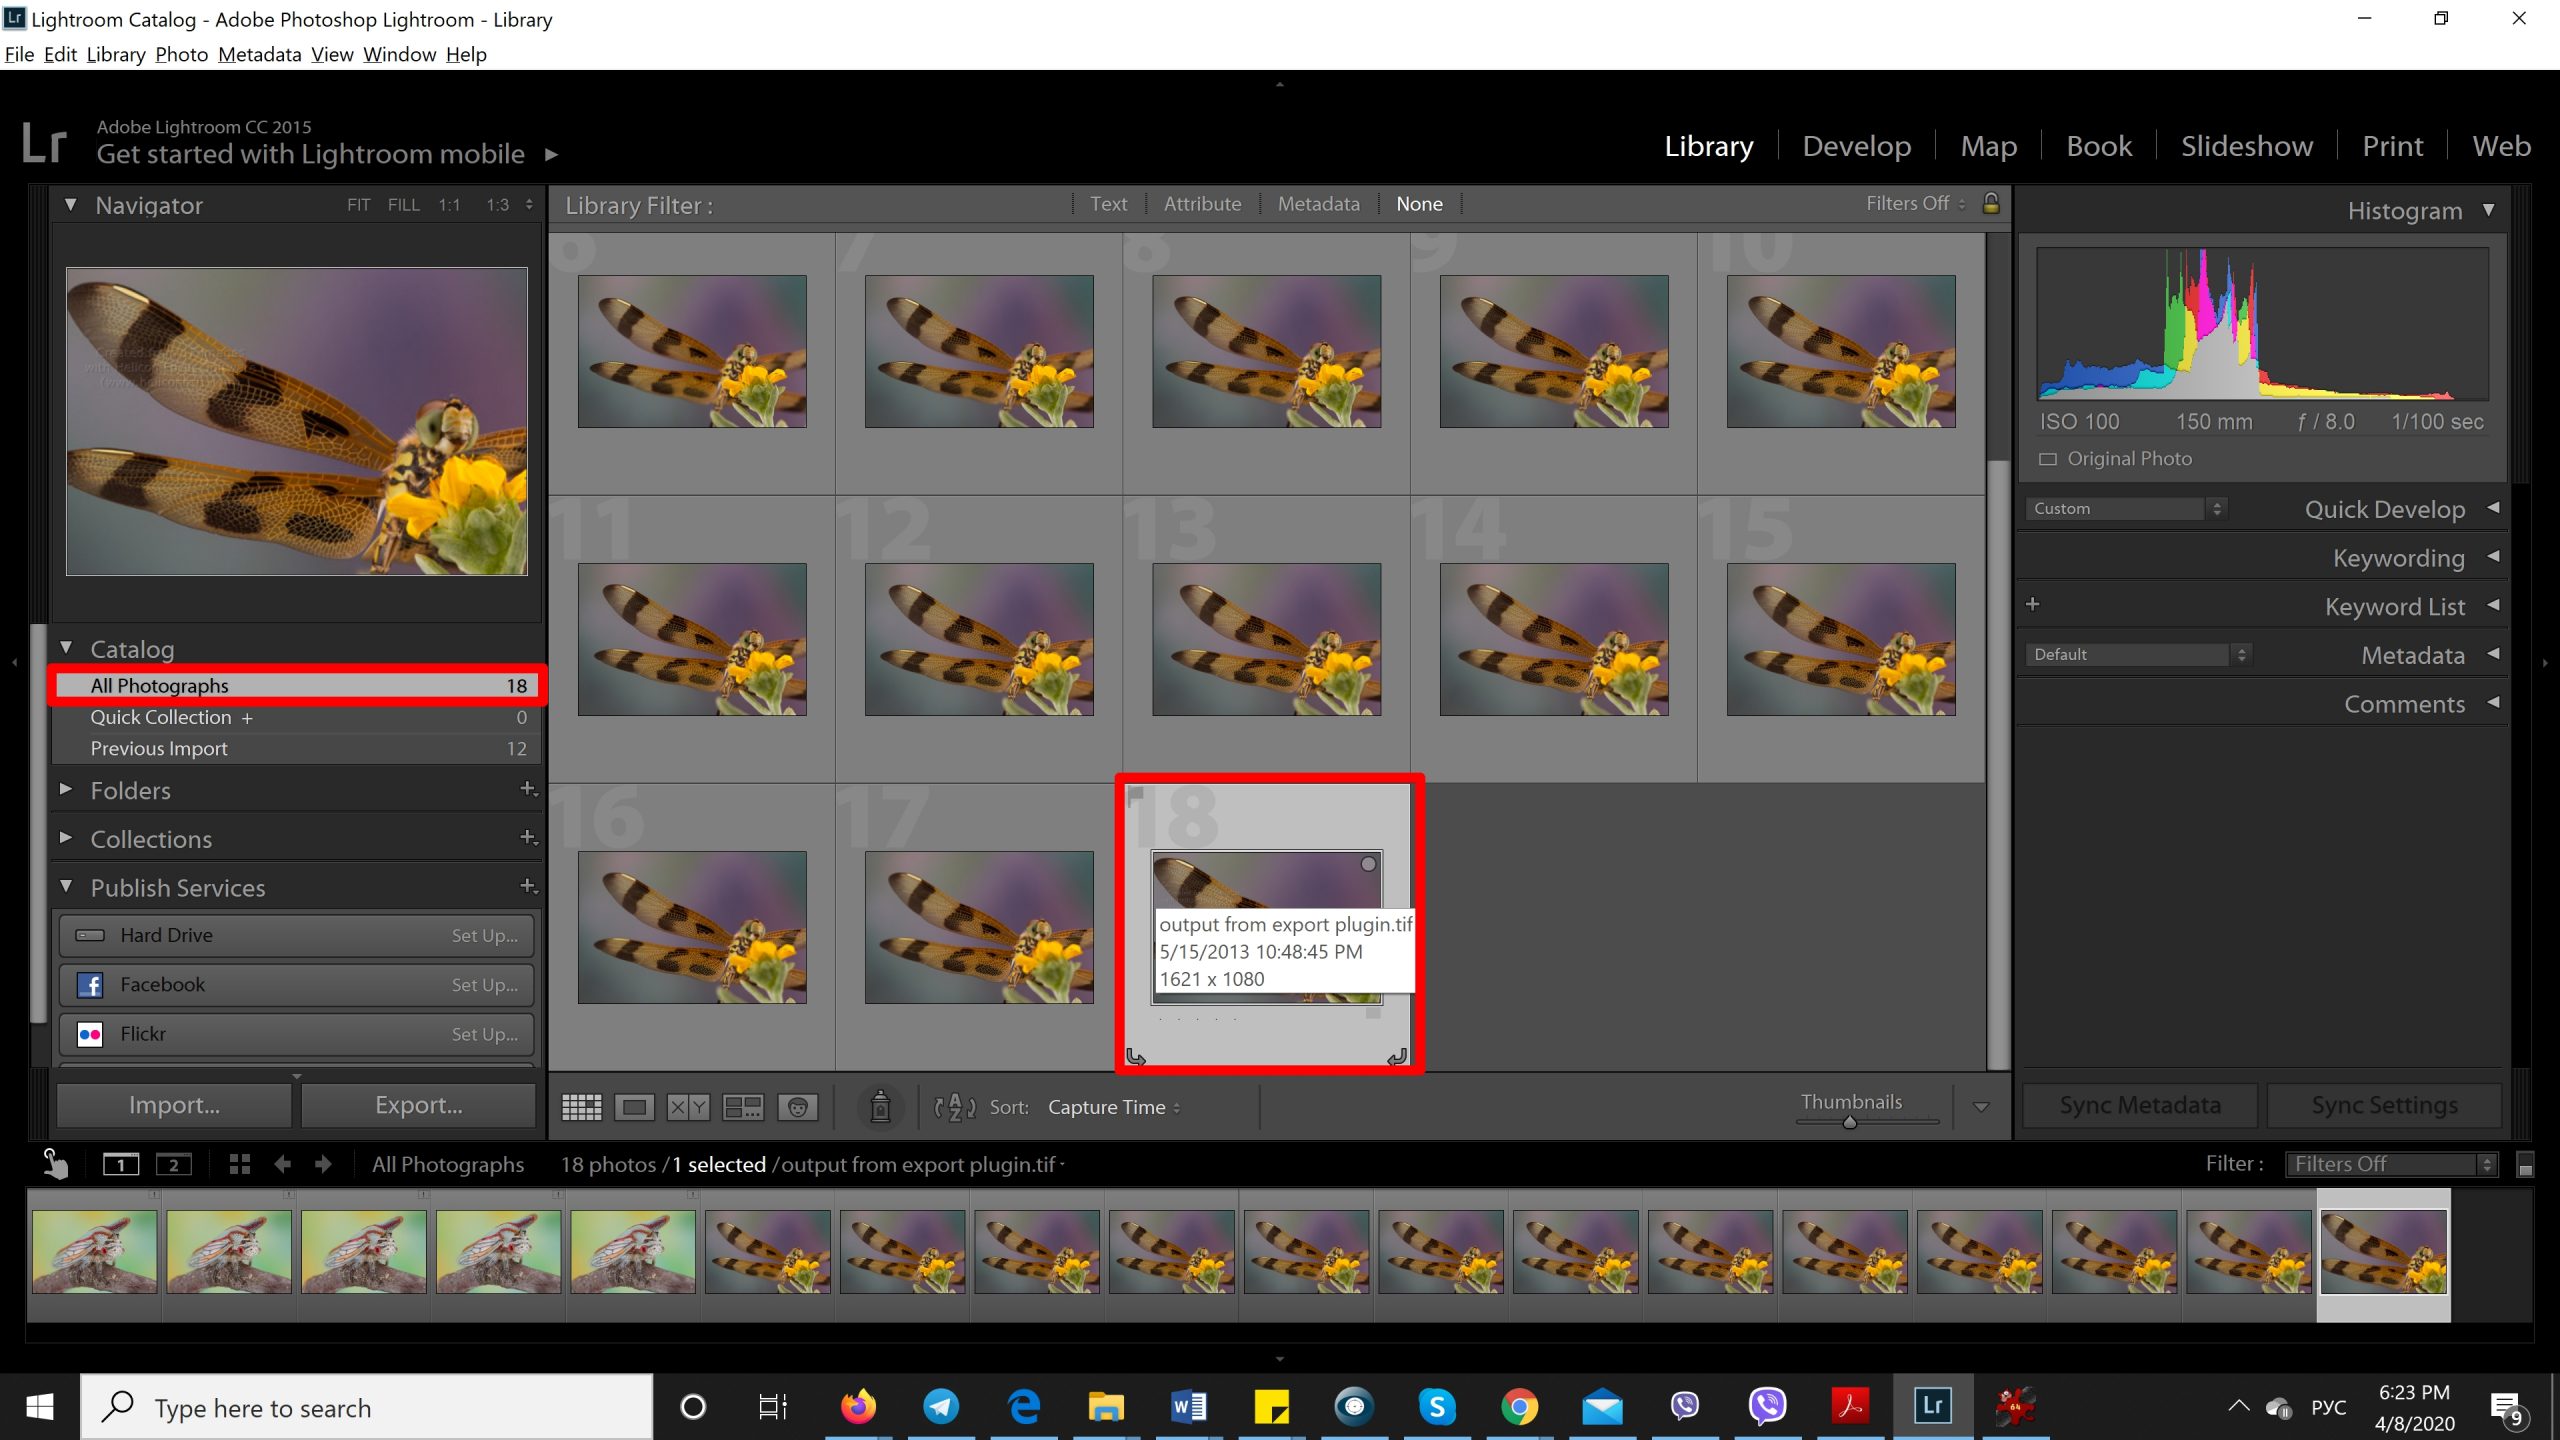
Q: Is there a Helicon Focus plugin for Lightroom? How does it work?
Q: Is my camera's RAW format supported?
Helicon Focus uses Raw converter to open Raw files, there are several converter options to choose from. Adobe DNG Converter is one of the most powerful converters supporting the widest range of formats. So actually when you’re asking about supported Raw file formats you should refer to the list of formats supported by the Raw converter you are using.For instance, if we talk about Adobe DNG Converter, you should check it here:
https://helpx.adobe.com/camera-raw/kb/camera-raw-plug-supported-cameras.htmlclick here to close
Q: There are trails of colored or black dots on the rendered image. Why is that and what do I do about it?
Typically these artifacts come from dust particles or hot pixels on the source images that turn into this kind of pixel streaks on the output during processing.Helicon Focus has a
Dust map feature designed to deal with dust spots and hot pixels.In order to create a map of hot pixels, please use dark or black background - for instance, take a picture with the lens cap on. If you want to eliminate dark spots (like specks of dust on the sensor), shoot against a bright white background. It is also possible to eliminate both hot pixels and dark pixels at the same time, for that adjust exposition such that the background is even and as close to 50% gray as possible - such that both very dark and very bright pixels have enough contrast for the software to detect them.Please note that the dust map should have the same dimensions as all the other images in the stack. Additionally, if your source images are in raw format, the dust map must also be in the same format and if you pre-process your source raw images, the dust map must also undergo the same pre-processing. This is necessary because raw converters and raw processors may crop images slightly, changing the (X, Y) coordinates of the defective pixels.
click here to close
If you have general or Helicon Remote related questions, please check the Purchase, Download, Activation or FAQ - Helicon Remote pages.
If you don't find the answer there, please feel free to contact us.