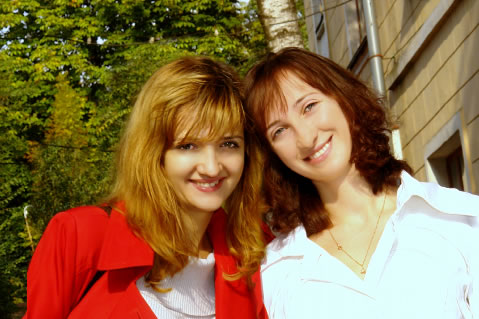
Quick Start With Helicon Montage
Step 1
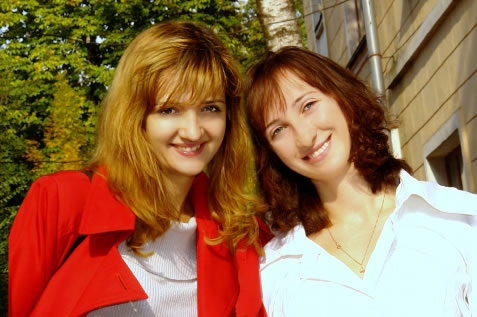
Click on the source image to select the part of the object that you want to copy. Below you see the source image.
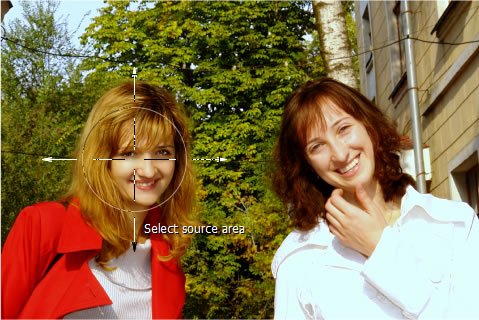
Advice: If you clone a head or a figure, it is handy to start with selecting the face or a part of it. Before the first click set the Tolerance parameter of the brush to 100 (default value); in this case everything inside the brush will be selected.
Step 2
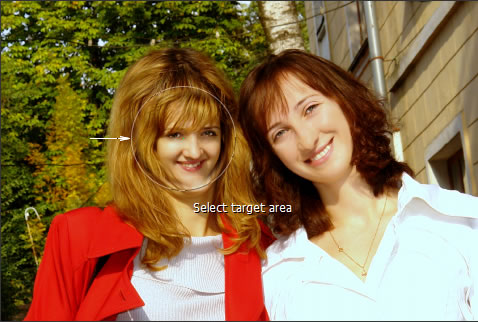
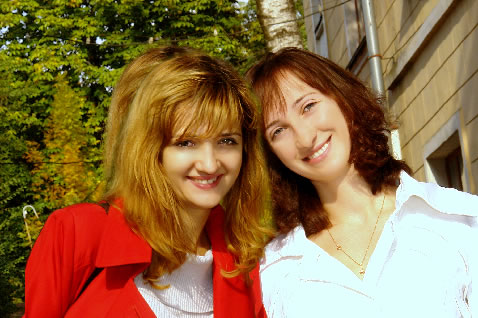
Click on the target image to position the source area (which you just selected) approximately where it should be. You will be able to move the object later, so it's not a problem if you misplace it a little. Below you see the target image; also you see how the cloned part is positioned on the target image.
Step 3
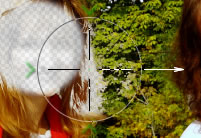
Switch back to the source image and select the whole object, varying the values of the Brush size, Brush hardness, and Tolerance parameters of the Select brush tool to create a precise selection. It's not a problem if you select a little extra: you can just choose the Deselect brush tool and correct the selection. As you select the object, observe how it appears on the target image.
The most important thing here is to distinguish the object from its background. So when you select the edges you will constantly need to change the Tolerance value. As soon as the edges are selected, the inner area can be selected with zero sensitivity.
To change the Brush size, rotate the mouse wheel.
The Tolerance parameter is the most important parameter while you are selecting the object, as it allows you to select pixels of similar color. To change the Tolerance, press the "2" key and rotate the mouse wheel. As you change the value you can preview what will be selected with that value.
If the Tolerance is 100, everything inside the brush is selected.
With Tolerance 23 I can select part of the hair with a similar color.
With Tolerance 35 I select the red fabric from the shoulder.
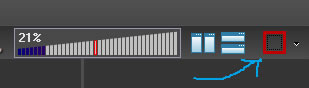
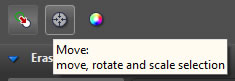
Sometimes it can be useful to change the selection preview mode. To do this, press the button, as shown in the screenshot below.
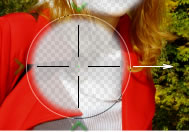
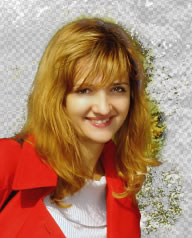
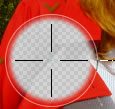
The selection is filled with a chessboard pattern as the default.
Click the button to hide the chessboard pattern for both the selection and the rest of the image.
Click again to fill everything EXCEPT the selection with the pattern, like on the image below. In this mode it's easy to see the excess areas of the selection
and correct them.
To correct the selection, choose the Deselect brush and click on the areas that should not be selected. You can change the Tolerancey in the same way that you did for the Select brush.
The Brush hardness parameter of the Select and Deselect brushes defines the edge of the selection. To change the Brush hardness, press the "1" key and rotate the mouse wheel.
If the Brush hardness is at the maximum (100), the edge is hard:

If it is at a minimum (0), the edge is soft:

Values around 80 are usually the most useful.
Step 4
Look at the target image and evaluate what else can to be done to the cloned object to make it fit the target image better. You can do any or all of the following: switch to Move mode and move, scale, stretch, and/ or tilt the cloned object.
To switch to Move mode, press the corresponding button, as below, or press and hold the M key.
In this example, I need to scale the cloned object. I enlarge the object by moving the Scale slider.

To position the cloned object, I click on it and drag it to where it belongs.
I position the cloned woman so that her original shoulder and the cloned one are at the same level.
But now the original image of the woman is not quite covered by the cloned image! To correct this, I switch back to the Create selection mode and clone a part of the background. The background will cover the hair from the original image.
I will also correct the selection of the hair on the right side by picking the Deselect brush to deselect areas near the right edge of the hair.
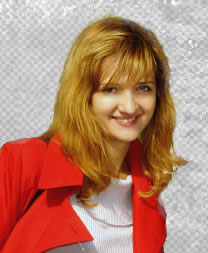
And here is the result!