Helicon FB Tube – Setting up
array(7) {
  ["_edit_lock"]=>
  array(1) {
    [0]=>
    string(12) "1535398788:4"
  }
  ["_edit_last"]=>
  array(1) {
    [0]=>
    string(1) "4"
  }
  ["cptr_related"]=>
  array(1) {
    [0]=>
    string(6) "a:0:{}"
  }
  ["_yoast_wpseo_content_score"]=>
  array(1) {
    [0]=>
    string(2) "90"
  }
  ["_yoast_wpseo_meta-robots-noindex"]=>
  array(1) {
    [0]=>
    string(1) "1"
  }
  ["_yoast_wpseo_meta-robots-nofollow"]=>
  array(1) {
    [0]=>
    string(1) "1"
  }
  ["dropdown_menu"]=>
  array(1) {
    [0]=>
    string(2) "20"
  }
}
- To mount the tube on the camera body align the red dots on the camera body and the tube and turn the tube clockwise
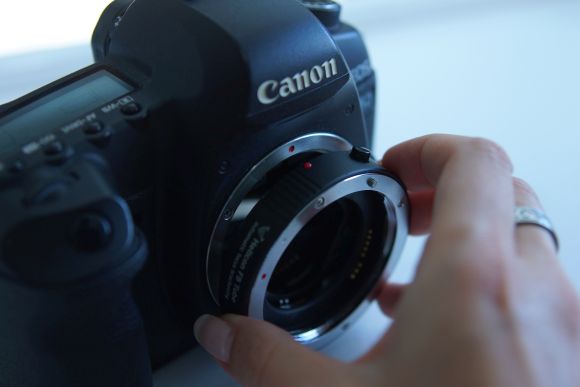
- Mount the lens on the tube the same way as you attach it to the camera body. Align the red dots and turn until it click-locks

- Adjust the camera settings according to the recommendations on the Configuration page.
- Switch your camera to Live View mode
- Install the Helicon FB Tube Configuration Utility on your device. It's available for Win, Mac OS, Android and iOS.
- Open the Helicon FB Tube Configuration Utility and choose the Camera type, the Lens, the Aperture and press ‘Send’

- Insert the jack of the magnetic cable into the audio port of your device. Use the adapter if needed
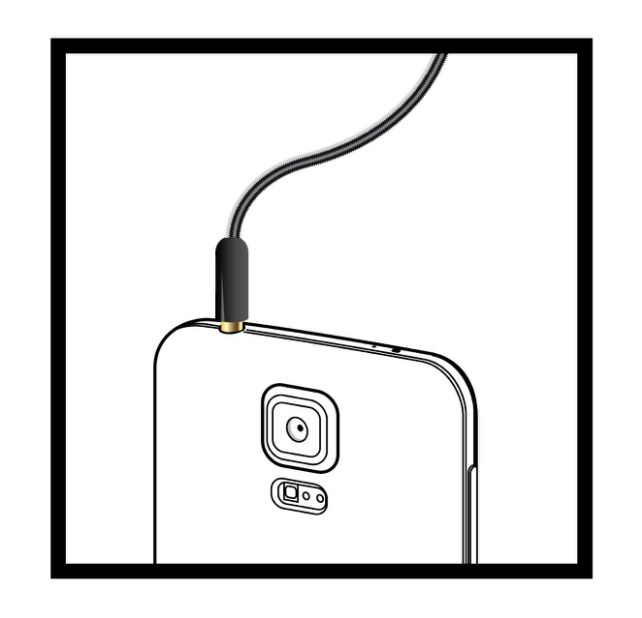
- Use the magnetic cable to connect to the tube

- Set the media volume on your device to maximum and press 'Send'

- Watch the LED indicator on the Helicon FB Tube flash green meaning that the configuration has been successful